Practice Files 2.0
Practice Files 2.0 is a new and modern variant of Practice Files that is typically used by practice managers and specific users to upload files into or download files from athenahealth.
Note This page currently supports only EHI export and CCDA Import files. If you’re looking for files that aren’t under either of those categories, please check the old Practice Files page on athenaOne (Settings icon ![]() -> Practice Manager -> Practice Files).
-> Practice Manager -> Practice Files).
On the Main Menu, click Settings ![]() >Practice Manager. In the left menu,under Practice Links — Miscellaneousubl, click Practice Files 2.0
>Practice Manager. In the left menu,under Practice Links — Miscellaneousubl, click Practice Files 2.0
To access this page, you must have the Billing Admin: Practice Files permission.
Practice Files 2.0 supports the following capabilities:
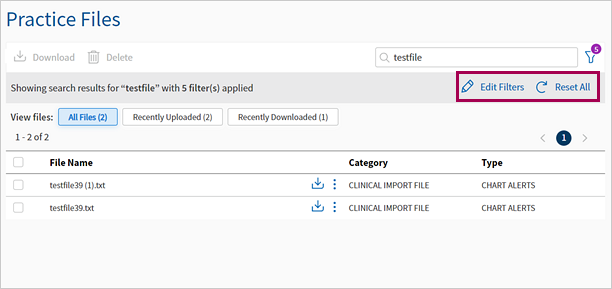
- Search and Filters: You can search for files based on a variety of parameters like filename, username, file category, date of upload, file download status etc.
- Multi-select: You can download multiple files at the same time. Note: attempting to download too many files (over 100) can lead to download failures depending on your bandwidth.
CCDA Import files can be uploaded into athenaOne through Practice Files 2.0.
Individual files cannot exceed 5GB in size and must have one of the following extensions in order to be successfully uploaded (csv, json, pdf, raw, txt, xlsx and zip).
- You can search for practice files by entering one of the following in the search bar:
- File name
- Part of a file name
- User name
- Part of a user name

Note A minimum of 3 characters is required to search for practice files, while entering in the search bar.
- Click Reset All to reset your search selection.

You can now select the appropriate practice files using the filters.
- Select the filter icon
 to open the Advanced Filters window.
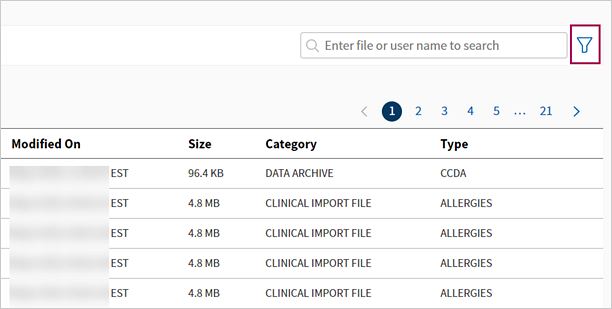
- Category — Select the categories of the practice file from the drop-down list.
- Type — Select the types of the practice file from the drop-down list.
- Modified by — Select the users who have modified the practice file from the drop-down list.
- Filter Status — Select this option to view files that have been downloaded or not downloaded.
- Date Range — Select the date range within which the practice file was created.
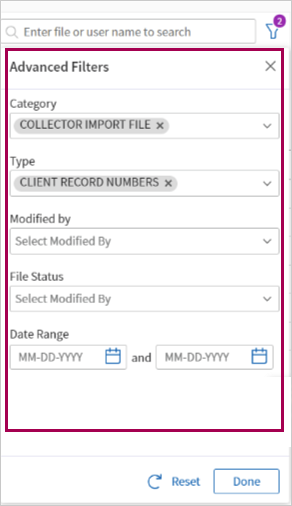
- Select Apply to close the Advance Filters window.
- Select Reset to clear your filters.
- You can view the total number of filters applied in the filter icon or in the message displayed.
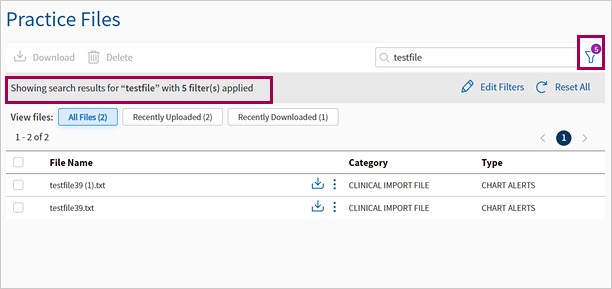
- Select Edit Filters to modify the filter fields.
- Select Reset All to clear your search and filters.
- Check the box next to each practice file to select multiple practice files.
- Click Download to download the selected files.
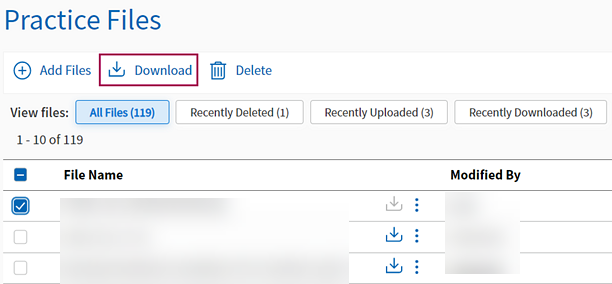
- Or, click the Download icon next to a practice file to download a single practice file.

- Click Cancel Download to stop the downloads.

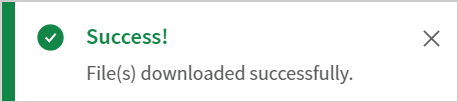
- After a practice file is successfully downloaded, a success message appears:
-
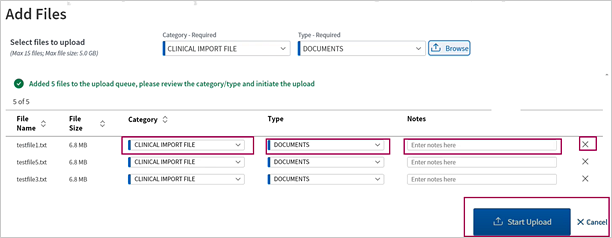
Click Add Files.

-
Select the appropriate file category from the Category - Required drop-down list.
-
Select the appropriate file type from the Type - Required drop-down list.
Click Browse and select one or more files to upload from your local drive.
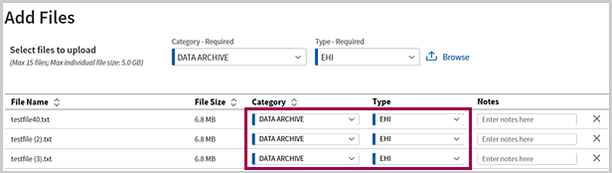
Important:You can add more files to upload by repeating steps 2-4 for different categories and types. You can upload upto 15 files at once.
The below image shows a different set of Category and Type ready for upload.
-
You can now view the files selected for upload.
-
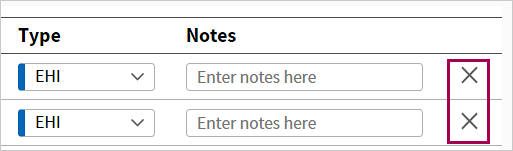
Change the Category and Type of the selected file by using the drop-down menus.
-
Add applicable notes (if required) in the Notes box.
-
Click the X icon to remove the file.
-
Click Cancel to cancel the uploads and go back to the landing page.
-
Or, click Start Upload to upload the files.
-
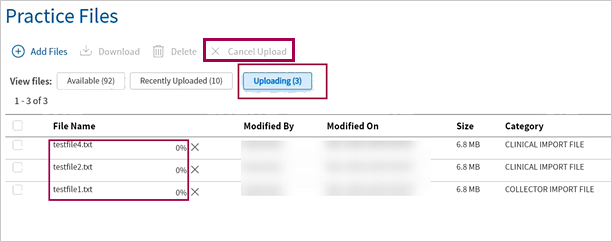
You can now view the status of your uploads on the Uploading tab.
-
A success message appears, when a file has been successfully uploaded into Practice Files 2.0.
-
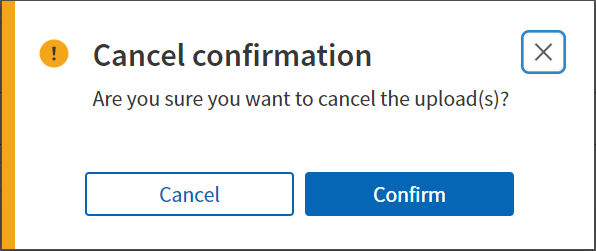
To cancel uploading of files, click Cancel Upload and select the files that you do not want to upload:
- Click on the
 icon to cancel individual file uploads.
 - Choose files and click Cancel Upload to bulk cancel file uploads.
- Click Confirm to proceed with cancellation.
- Click on the
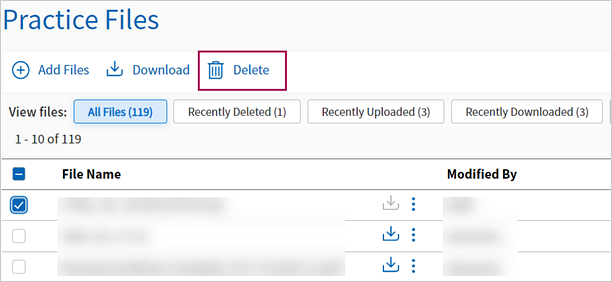
- Check the box next to each practice file you want to delete to delete multiple files.
- Click Delete.
- Or, click the
 icon and then click the Delete icon to delete a single practice file.
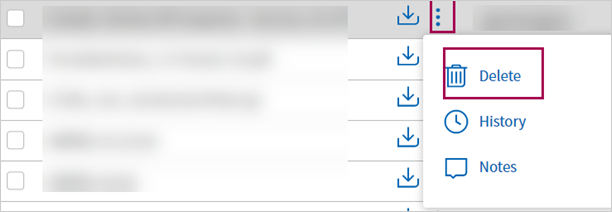
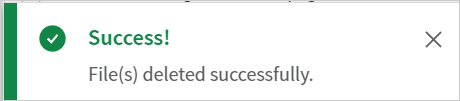
- A success message appears when the files have been successfully deleted from Practice Files 2.0.
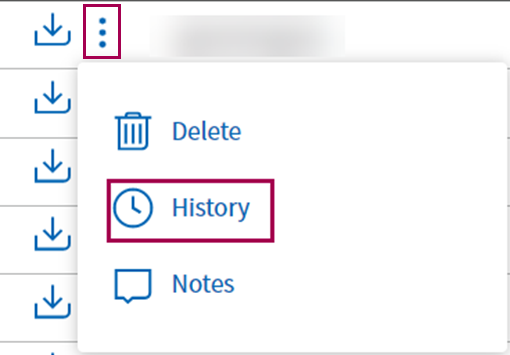
- Select the icon.
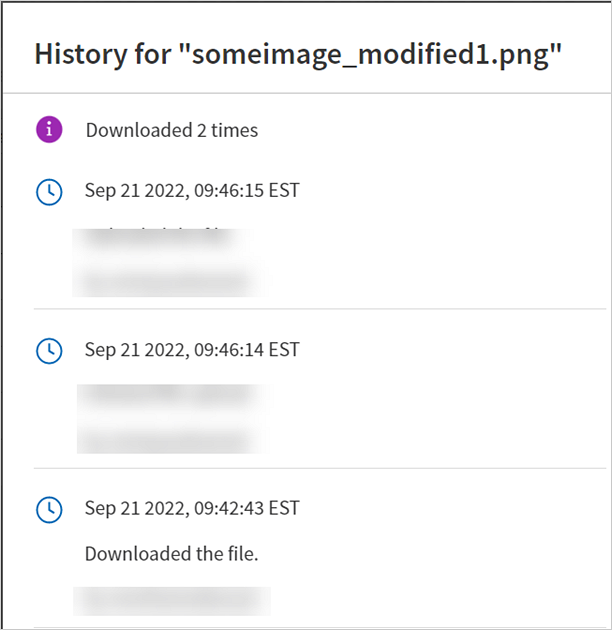
- Click History to view the audit history of the corresponding file.
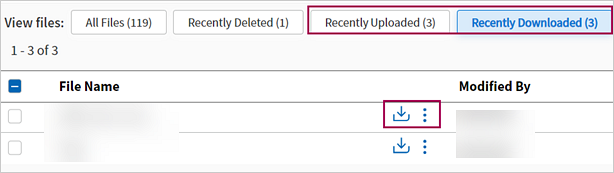
- Select the Recently Deleted tab to view the list of files that were deleted in the last seven days.
- Select the Recently Uploaded tab to view the list of files that were Uploaded in the last seven days.
- Select the Recently Downloaded tab to view the list of files that were downloaded in the last seven days.
- Select the Selected (X) tab to view the list of selected practice files.

Important: You can only perform the download and delete operations in the Recently Downloaded and Recently Uploaded tabs.