 Quick Reference — To send a message with attachments to your practice (instructions for patients using a smartphone)
For more information about the attachments that patients can include in messages from the Patient Portal and how to display these attachments, see To view secure message attachments sent by patients from the Patient Portal.
Important: Tell your patients not to send any credit card information in the messages they send from the Patient Portal. Credit card information includes images of credit cards and credit card data entered as text.
- On your smartphone, log on to the Patient Portal.
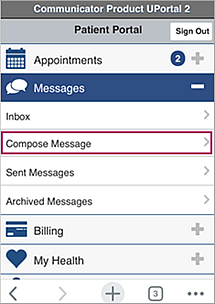
- Tap Messages and then tap Compose Message.
The Compose message page opens. - Provider — Select the provider to whom you are sending the message. The list includes providers that you've seen in the past.
Note: The Office staff option appears in the list only when the Provider-based message routing option is disabled on the Portal Settings page. - Location — Select the location for the provider you selected. The options in the Location list are the departments that the provider works in.
Note: This field is used to route the message to the appropriate Clinical Inbox. - Message type — Select the type of message from the list, for example Medical question or Appointments and scheduling.
Note: When you select certain message types, other fields appear. For example, if you select Prescriptions and refills, you are prompted to select a prescription. - Subject — Enter a brief summary of the message.
- Message — Enter a detailed message (up to 1000 characters).
- If you want to send the provider a file attachment:
- Tap Attach files.
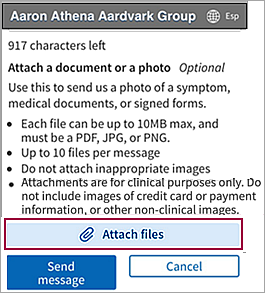
Note: You can attach files in the same way when you reply to a message from your provider. - Select the appropriate file from your browser or photo library.
Note: If you attach the wrong file, delete it before you send the message by clicking the X next to the file name. - To send more than one file, tap Attach files again. You can attach as many as 10 files.
Note: You must attach each file individually.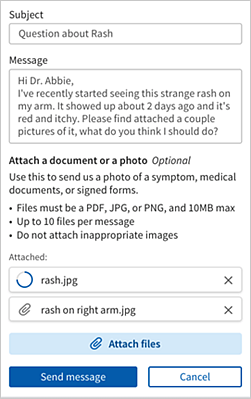
- Click Send message.
The message is routed to the appropriate provider's Clinical Inbox.